- Navigating the Asphalt Shingle Roof Replacement Process: A Step-by-Step Guide
- Signs That Indicate the Need for a Roof Replacement
- Finding the Right Asphalt Shingle Roof Replacement Company in San Jose
- The Importance of Hiring Asphalt Shingle Roof Replacement Companies in San Jose
- Understanding the Asphalt Shingle Roof Replacement Process
- Maintaining Your New Asphalt Shingle Roof
- Transform Your Roof With Apollo Roofing for a Sustainable Future!
Navigating the Asphalt Shingle Roof Replacement Process: A Step-by-Step Guide
When it comes to maintaining your home, one of the most important aspects is the roof. Over time, asphalt shingle roofs can deteriorate due to exposure to harsh weather conditions, causing leaks and other issues. In such cases, it becomes necessary to consider a roof replacement. This step-by-step guide will walk you through the process of replacing your asphalt shingle roof, ensuring that you are well-informed and prepared for this significant home improvement project.
Signs That Indicate the Need for a Roof Replacement
Before diving into the roof replacement process, it’s crucial to be aware of the signs that indicate your roof needs attention. Some common signs include missing or damaged shingles, water stains on the ceiling, excessive moss or algae growth, and sagging areas on the roof. If you notice any of these signs, it’s time to consider a roof replacement to prevent further damage to your home.

Finding the Right Asphalt Shingle Roof Replacement Company in San Jose
Choosing the right asphalt shingle roof replacement company is essential to ensure a successful and stress-free project. In San Jose, there are several companies to choose from, but it’s crucial to do your research and select a reputable and experienced company. Look for companies that have a proven track record, positive customer reviews, and proper licensing and insurance. Additionally, consider getting multiple quotes to compare prices and services offered.
The Importance of Hiring Asphalt Shingle Roof Replacement Companies in San Jose
Hiring a professional asphalt shingle roof replacement company in San Jose offers numerous benefits. Firstly, professionals have the expertise and experience to handle roof replacements efficiently and safely. They are knowledgeable about local building codes and regulations, ensuring that the project is completed according to the required standards. Additionally, professional companies have access to high-quality materials and equipment, ensuring the durability and longevity of your new roof.
Understanding the Asphalt Shingle Roof Replacement Process
Replacing an asphalt shingle roof involves several steps that need careful consideration and execution. By understanding each step, you can be actively involved in the process and make informed decisions. Let’s take a closer look at the step-by-step process of asphalt shingle roof replacement.
Step 1: Roof Inspection and Assessment
The first step in the roof replacement process is to have a professional roofer inspect and assess the condition of your current roof. They will identify any underlying issues and determine whether a replacement is necessary. During this inspection, they will also measure the roof to provide an accurate estimate for the materials and labor required.
Step 2: Choosing the Right Shingles for Your Roof
Once it’s established that a roof replacement is needed, the next step is to choose the right shingles for your roof. There are various types of asphalt shingles available, each with its own advantages and aesthetic appeal. Consider factors such as durability, color, and style when making your selection. Your roofing contractor can provide guidance based on your preferences and budget.
Step 3: Preparing for the Roof Replacement
Before the actual replacement begins, it’s important to prepare your home and surroundings. Clear any valuable or fragile items from the work area, and cover furniture and landscaping to protect them from debris. Communicate with your roofing contractor to ensure that the necessary preparations are made prior to the start of the project.
Step 4: Removing the Old Shingles and Preparing the Roof Deck
The next step is to remove the old shingles and prepare the roof deck for the installation of new shingles. This involves stripping away the existing shingles, inspecting the deck for any damage, and making necessary repairs. Ensuring a solid and stable deck is crucial for the longevity and effectiveness of the new roof.
Step 5: Installing New Underlayment and Flashing
Once the roof deck is prepared, the next step is to install new underlayment and flashing. Underlayment provides an extra layer of protection against water infiltration, while flashing ensures that vulnerable areas such as chimneys and vents are properly sealed. These components are essential for a watertight and durable roof.
Step 6: Installing the New Asphalt Shingles
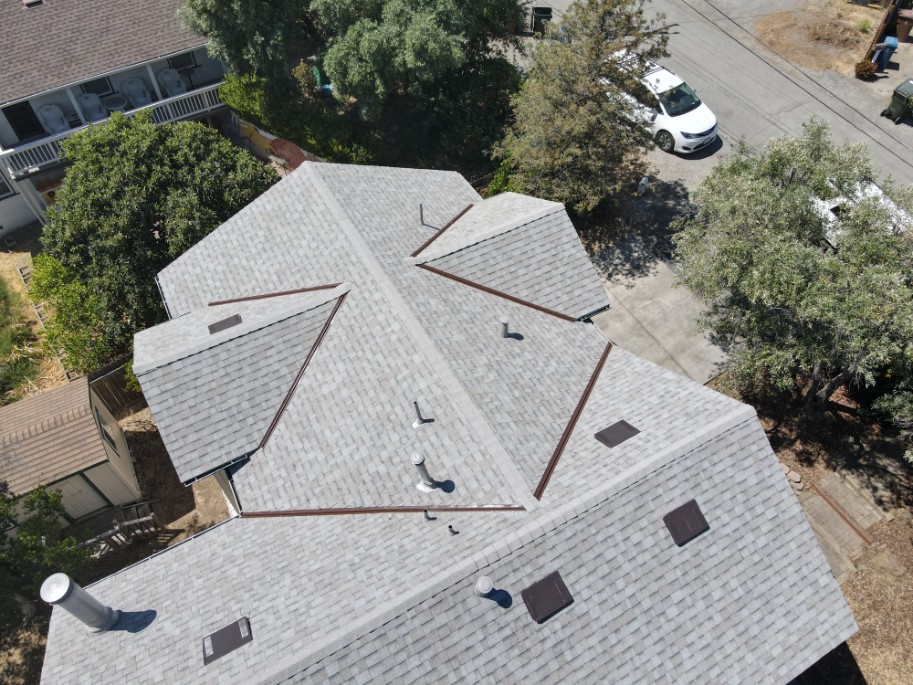
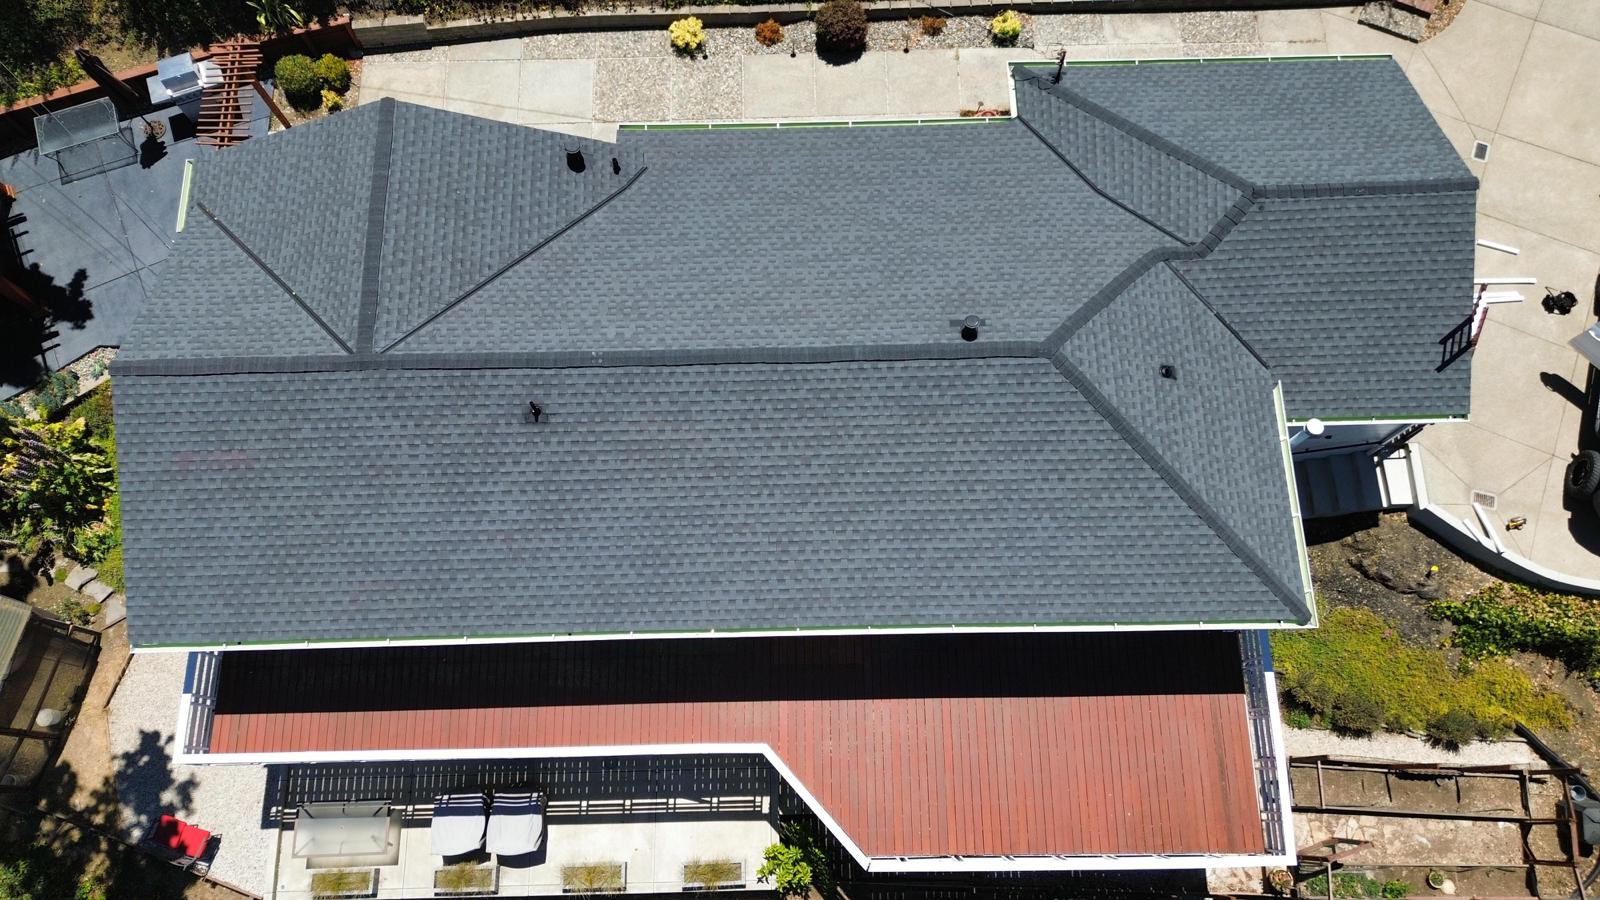
With the deck, underlayment, and flashing in place, it’s time to install the new asphalt shingles. This involves carefully laying out the shingles according to the manufacturer’s instructions, ensuring proper alignment and fastening. Attention to detail during this step is crucial to ensure a visually appealing and long-lasting roof.
Step 7: Cleaning Up and Final Inspections
Once the new shingles are installed, the roofing team will clean up the work area, removing any debris and ensuring that your property is left clean and tidy. They will also conduct a final inspection to ensure that the roof replacement meets the required standards and your satisfaction.

Maintaining Your New Asphalt Shingle Roof
After investing in a new asphalt shingle roof, proper maintenance is key to prolonging its lifespan and protecting your investment. Regular inspections, gutter cleaning, and prompt repairs of any damage are essential. Additionally, consider scheduling professional maintenance at least once a year to identify and address any potential issues before they escalate.
Transform Your Roof With Apollo Roofing for a Sustainable Future!
If you’re looking for a reliable and experienced asphalt shingle roof replacement company in San Jose, look no further than Apollo Roofing. With a commitment to quality and sustainability, Apollo Roofing offers top-notch services that will transform your roof and ensure a sustainable future for your home. Contact Apollo Roofing today to schedule a consultation and take the first step towards a durable and visually appealing roof.


